Calf-Life
From EQUIS Lab Wiki
Calf-Life is an implementation of the Heart Rate Power-Ups toolkit, using Valve Software's Half-Life 2.
This guide assumes you have already checked out the project from SVN and built HRPUManager as described here.
Contents |
Building
These instructions are based on this Steam Community guide, though some of the early steps in it are already done for you.
Open games.sln in Visual Studio. It can be found in \HeartRatePowerUps\trunk\ZZ - Half-Life 2\source-sdk-2013-master\sp\src. Change to the Release configuration and rebuild the solution as described in the guide referenced above (under "Setting up the codebase").
Locate your Steam folder (usually in C:\Program Files) and copy the hl2 folder from Steam\steamapps\common\Source SDK Base 2013 Singleplayer to Steam\steamapps\sourcemods. This is your mod folder, where Steam looks for the mod's content. Renaming the mod folder to something like "CalfLife" is recommended but not necessary. Copy all files from \HeartRatePowerUps\trunk\ZZ - Half-Life 2\source-sdk-2013-master\sp\game\mod_hl2 into your mod folder, copying files in subfolders into their corresponding subfolders in the mod folder.
Restart Steam. You should now see "Calf-Life" in your Steam library. Open it, and open the options menu once the main menu loads. Under the Keyboard tab, bind the keys for #Valve-Pedaling and #Valve-Powerup to the keys assigned to movement and power-up in HRPUManager's config.txt file. The defaults for Calf-Life are "b" and "k", respectively.
Playing
Follow the instructions on the main HRPU page for using the toolkit. The following are specific instructions for getting Calf-Life to work.
New games open a Source SDK test map, so loading a save file is necessary. Load one of the saves you copied over from the repo (from the save folder), or make your own save by playing Half-Life 2 and saving, then copying your save from Steam\steamapps\common\Half-Life 2\hl2\saves to the same folder.
Enemy AI won't work if you just load the save, because Half-Life 2 hasn't built a node graph yet. To get around this, load the save and open the developer console (enable it in Options > Keyboard > Advanced, then press "`"). Type "map mapname" into the console, where mapname is the map the save is on (you can find this by looking through the console log to see which map was loaded). Half-Life 2 will then load that map and build a node graph. Enemy AI should now work as normal on that map, even after you quit the game.
Troubleshooting
Maps or particle effects not loading
Make sure your gameinfo.txt file is properly configured. You need to have sources from Half-Life 2 and Portal (for the powerup particle effect) loaded. See this Valve Developer wiki article for help; you can basically copy their file as-is.
Can't bind keys in options menu
kb_act determines the contents of the keyboard bindings menu, which is in the scripts folder. Make sure there are entries for IN_POWERUP and IN_PEDALING in these files. More information can be found |here.
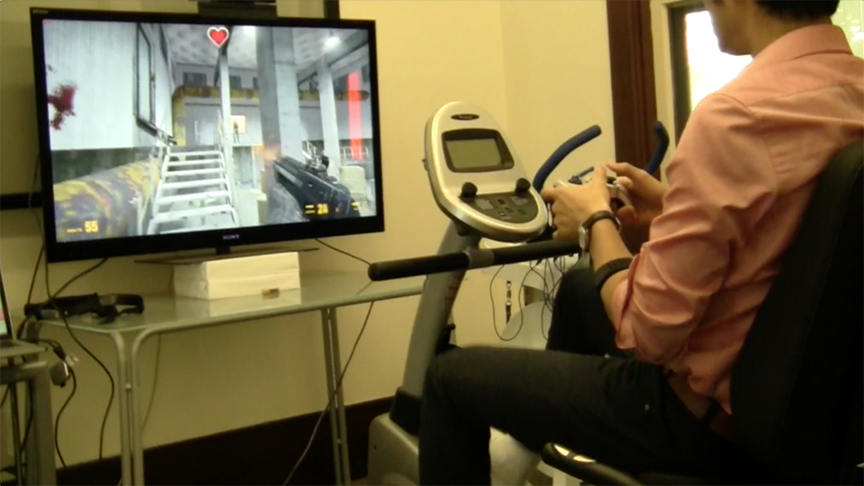
Demo Photo